
If you’re planning to install pavers in your yard, you’ll want to avoid making the most common paver installation mistakes.
Pavers are a great way to add beauty and value to your home, but only if they’re installed correctly. With a little bit of knowledge and careful planning, you can ensure a successful paver installation.
In this blog post, we’ll share some common mistakes people make when installing pavers, as well as how to avoid them.
Paver Installation Mistakes To Avoid When Upgrading Your Outdoor Space
Installing a paver patio, walkway, or driveway is a great way to upgrade your outdoor space. However, it’s important to be aware of the common mistakes people make when they take on this project.
In this blog post, we will break down some of the most common paver installation mistakes and how you can avoid them to ensure your project turns out perfectly.
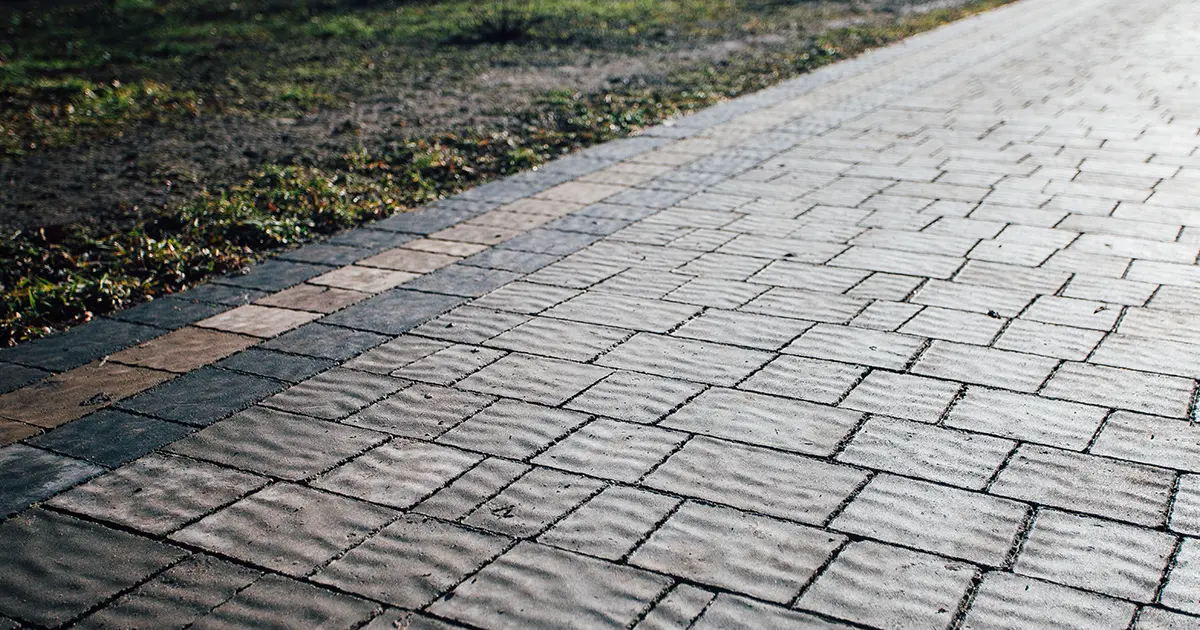
Mistake #1. Not Preparing The Base Properly
When it comes to paver installation, the most important part of the process is preparing the base. The base is what will support your pavers and determine the longevity of your project. Without a proper base, pavers can sink over time, which can lead to unevenness and cause tripping hazards. It’s essential that you properly prepare the base before you start laying down any pavers by ensuring that it’s level and compacted correctly.
If you’re not familiar with this process, hiring a professional might be worth considering so that your pavers stay in place for years to come.
And if you’re in the Wheat Ridge or Arvada area and want to avoid the hassle of making these mistakes yourself, check out these paver patio installation companies in Wheat Ridge, CO and Arvada, CO.

Mistake #2. Not Using Edge Restraints
Edge restraints are essential for keeping your pavers in place—especially if they’re laid on an incline or over soft soil such as sand or loam.
Without edge restraints, your pavers could shift out of alignment and eventually start to crumble around the edges due to wear from foot traffic or weather conditions. Make sure you use either plastic edging strips or metal edging along all sides of your project for optimal stability and security.
Mistake #3. Using The Wrong Type Of Sand For Filling Joints
When filling joints between pavers with sand, it’s important to choose one specifically designed for paving projects; otherwise you could end up with weeds growing between the cracks!
Polymeric sand is an ideal choice since it hardens when exposed to moisture (which helps keep weeds at bay) and prevents ants from entering your patio area through tiny crevices in between stones. It also prevents erosion by helping water flow away from any paved surfaces quickly instead of pooling inside joints and weakening them over time.
Mistake #4. Using Too Much Sand in Between Pavers
When setting each individual paver into place, it’s important that you use enough sand in between each one to fill any gaps. However, using too much sand can cause problems as well.
Excess sand will be washed away during rainstorms or irrigation events, leaving behind cavities that can cause your pavers to sink or move out of place over time. Make sure you only use enough sand for the gaps between each paver – no more!
mistake #5. Using Inferior Materials & Products
One common mistake homeowners make when installing pavers is trying to save money by using inferior materials and products. While this may seem like a good idea at first glance, it almost always ends up being more expensive in the long run since poor-quality materials are less durable and require frequent repairs or replacement sooner than high-quality ones do.
So don’t skimp on quality in order to save a few bucks upfront – in most cases, it’s not worth it!
mistake #6. Not Accounting For Expansion Joints
Expansion joints are necessary when installing pavers because they allow for movement in extreme temperatures without damaging the paver surface or its structure.
Not leaving enough space for expansion joints can cause cracking in the blocks as well as shifting of the blocks over time due to temperature fluctuations. The best practice is to leave at least 1/4 inch gap between each block when installing them. This will help ensure that they have room for movement while still maintaining their structural integrity over time.
mistake #7. Using The Wrong Pavers
Another common mistake people make when installing pavers is using the wrong type of paver for their space or climate. For example, if you live in an area with a lot of rain or snow, using clay or unglazed ceramic might not be the best option since these materials absorb water which can lead to cracking and moss growth over time.
Instead, opt for glazed ceramic or stone pavers which are more durable and less likely to crack due to extreme weather conditions. Additionally, consider factors such as size and shape when selecting your pavers since these details will determine how easy they are to lay down and how aesthetically pleasing they look once installed.
mistake #8. Not Sealing The Pavers
Conclusion
Pavers are a great way to add beauty and value to your home. However, there are several critical mistakes that can be made during the installation process. By taking the time to plan ahead, you can avoid many of these pitfalls.
More often than not, a paver patio installation is not a DIY project, so if you’ve wanted a patio for far too long, contact us today. We’re happy to assist you in creating a beautiful outdoor living space that you can enjoy for years to come. For more about sealing pavers check our post on sealing pavers pros and cons.